
Replacing a bathroom sink can transform your space, adding both function and style. While it might seem like a straightforward DIY project, there are several common mistakes that can turn your exciting upgrade into a frustrating problem. Knowing what to watch for ensures your installation goes smoothly and gives you a beautiful, leak-free result. Let’s explore the key mistakes to avoid for a perfect bathroom sink installation.
Not Turning Off the Water Supply
Before you touch a single pipe, the first and most critical step is to turn off the water. Forgetting to do this can lead to a major flood in your bathroom, causing significant water damage to your floors, cabinets, and even rooms on lower levels.
Locate the shutoff valves, which are typically found under the sink. There will be one for hot water and one for cold. Turn the handles clockwise until they are completely closed. After shutting them off, open the faucet to drain any remaining water from the lines and relieve the pressure. If your sink doesn’t have dedicated shutoff valves, you will need to turn off the main water supply to your entire house. Confirming the water is off before you begin disassembly is a simple step that prevents a massive headache.
Ignoring Local Building Codes
Many homeowners don’t realize that plumbing work, including sink installation, is often regulated by local building codes. These codes exist to ensure safety, proper function, and sanitation. For example, codes dictate requirements for drainpipe diameter, P-trap installation, and proper venting to prevent sewer gases from entering your home.
Ignoring these regulations can lead to a failed inspection if you ever sell your home. Even worse, it can create unsafe plumbing conditions. Before you start your project, take a moment to research your local plumbing codes. A quick search on your municipality’s website or a call to the local building department can provide the information you need. Following these guidelines ensures your work is safe, professional, and compliant.
Measuring Incorrectly
Accurate measurements are the foundation of a successful sink installation. A small error can lead to big problems, like a sink that doesn’t fit the vanity opening, a faucet that bumps into the backsplash, or supply lines that are too short.
Before you buy a new sink, measure everything carefully, including:
- Vanity opening: Measure the length and width of the countertop cutout
- Sink depth: Ensure the new sink bowl isn’t too deep for the existing plumbing and cabinet space
- Faucet holes: Check the distance between the faucet mounting holes (the “spread”) to ensure it matches your new faucet
- Supply lines: Measure the distance from the shutoff valves to the faucet connections to buy lines of the correct length
Double-checking your measurements before you make a purchase or cut into your countertop will save you from the frustrating discovery that your new fixtures don’t fit.
Forgetting To Level the Sink
An unlevel sink is more than just a cosmetic issue. If the sink tilts, water can pool in one corner instead of draining properly, leading to soap scum buildup and water spots. Over time, this standing water can even stain the sink’s surface.
Use a level to check the sink from front to back and side to side before you permanently seal it to the countertop. Place the level across the rim of the sink. If it’s not perfectly flat, use shims, which are small, tapered wedges of wood or plastic, to adjust its position until it’s level. Once you achieve a level placement, you can proceed with securing and sealing the sink, confident that it will drain correctly.
Overtightening Connections
When working with plumbing, it’s natural to want to make every connection as tight as possible to prevent leaks. However, overtightening fittings can cause more harm than good. Applying too much force can crack the porcelain of the sink, strip the threads on plastic or metal fittings, or damage the rubber seals and gaskets inside.
Tighten connections until they are “hand-tight,” then use a wrench to give them an additional quarter-turn. This is usually sufficient to create a watertight seal without risking damage. If a connection leaks after you turn the water back on, you can tighten it slightly more, but always do so in small increments.
Using the Wrong Type of Sealant
Choosing the right sealant is essential for creating a durable, waterproof barrier between your sink and the countertop. Using the wrong product can result in a seal that fails, leading to leaks and water damage.
For most bathroom applications, 100 percent silicone caulk is the best choice. It is waterproof, flexible, and resistant to mold and mildew. Avoid using painter’s caulk or other non-waterproof fillers. When applying the sealant, run a continuous, even bead around the perimeter of the sink. Then, smooth the bead with a caulk tool or a damp finger to ensure it completely fills the gap and creates a clean, professional finish.
Forgetting To Test for Leaks
After all your hard work, the final step is one of the most important: testing for leaks. It’s tempting to pack up your tools and admire your new sink, but skipping this check can lead to slow, hidden leaks that cause mold and rot inside your vanity.
Once everything is connected, turn the water back on slowly at the shutoff valves. Let the water run into the sink and fill the basin completely. While it’s full, use a flashlight to inspect every connection point, including the faucet supply lines, the drain assembly, and the P-trap fittings. Then, release the stopper and let the full basin drain while you continue to check for drips. Catching a small leak now is much easier than repairing major water damage later.
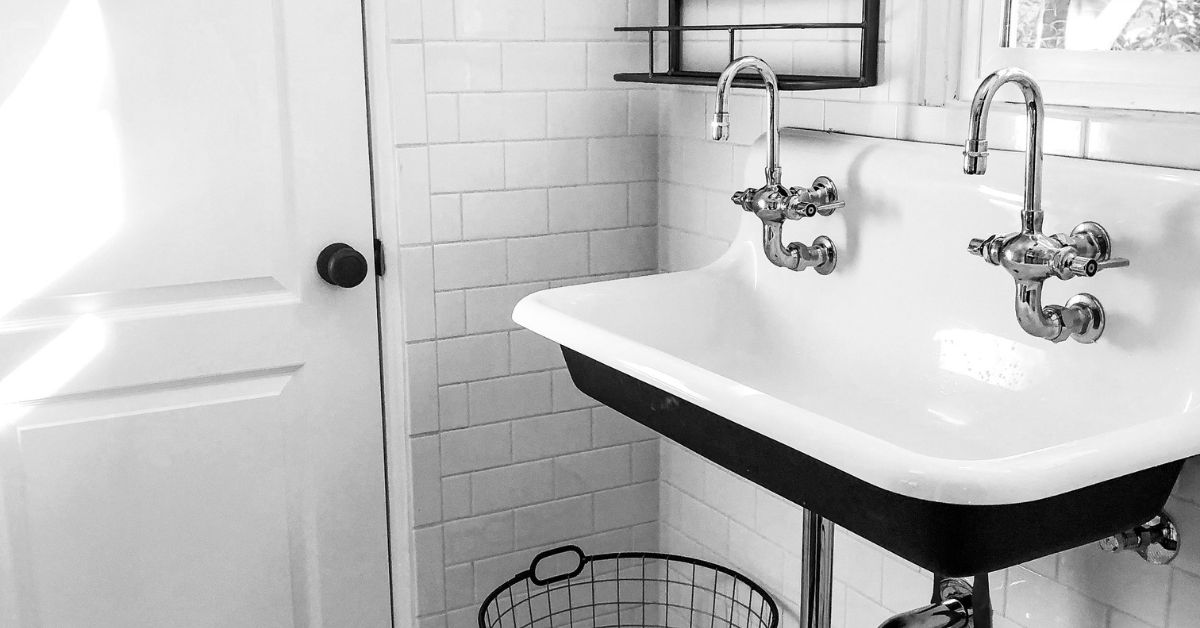
Disregarding Faucet Compatibility
Not all faucets and sinks are designed to work together. A common mistake is buying a faucet that doesn’t match the pre-drilled holes in the sink. Sinks typically come with one hole or three holes. Three-hole sinks have different “spreads,” which is the distance between the outer holes. A 4-inch centerset faucet is designed for sinks with holes close together, while an 8-inch widespread faucet requires holes spaced farther apart.
Before purchasing, confirm that your chosen faucet is compatible with your sink’s hole configuration. This simple check ensures you won’t have to return your fixtures or, in a worst-case scenario, buy a new sink. This is also true for other styles, such as wall-mounted faucets or unique installations like those for farmhouse utility sinks.
Rushing the Cleanup Process
Proper cleanup is the final touch on a professional-looking installation. Excess silicone caulk or plumber’s putty left around the sink and faucet can collect dirt and look messy. Wiping away this excess material while it’s still wet is much easier than trying to scrape it off after it has cured.
Use a rag dampened with mineral spirits or rubbing alcohol to carefully wipe away any stray sealant. Take your time to create clean lines and a polished look. This final detail makes a significant difference in the overall appearance of your project and shows true craftsmanship.
A Flawless Finish for Your Bathroom
Installing a new bathroom sink is a rewarding project that can significantly update your space. By taking your time, preparing correctly, and avoiding these common pitfalls, you can achieve a professional result you’ll be proud of. From measuring carefully to thoroughly checking for leaks, each step contributes to a successful and long-lasting installation.