
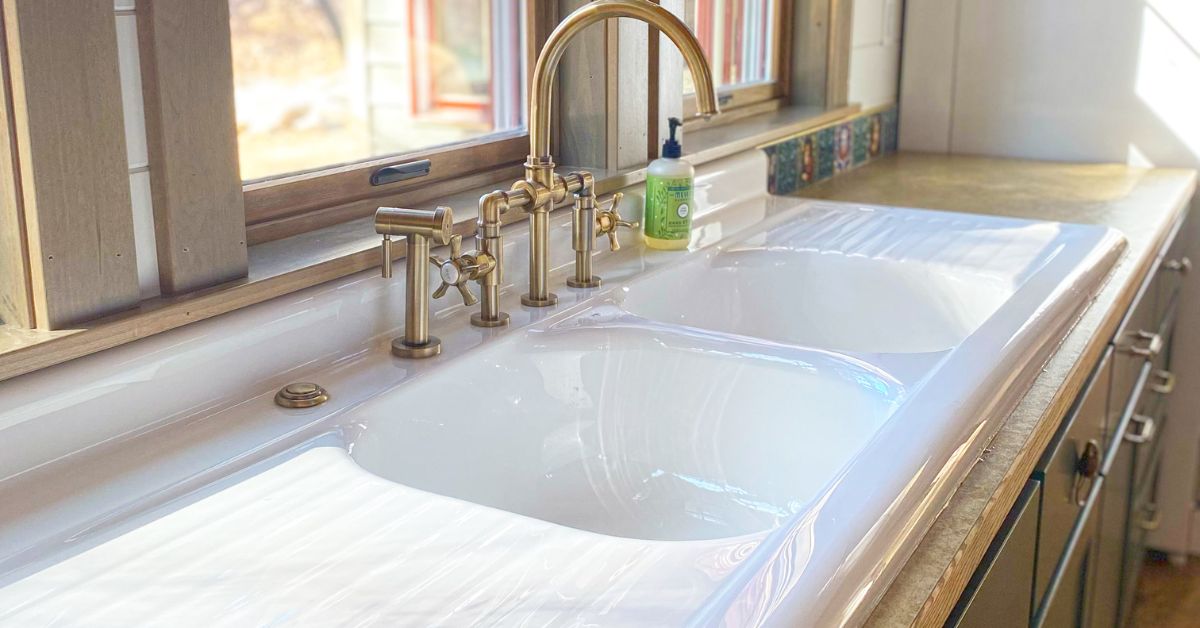
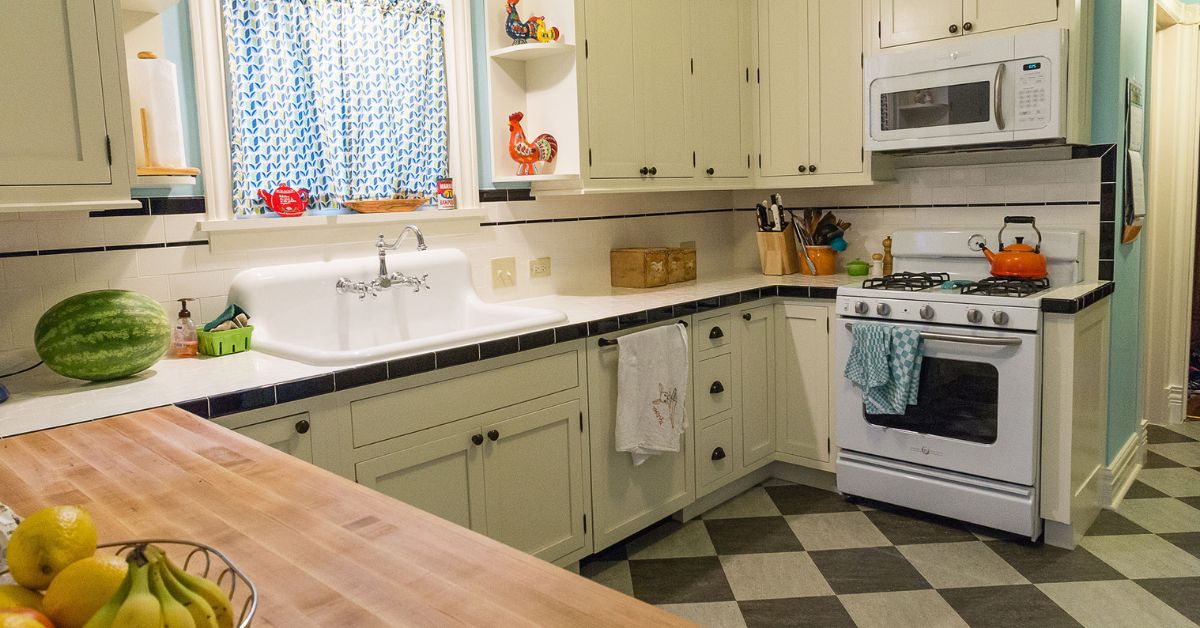
Known for their combination of style and function, farmhouse drainboard sinks evoke images of kitchens where utility and charm go hand-in-hand. These sinks not only add a vintage touch to your kitchen, but they also provide practical features for easy dish drying or food prep. Adding one to your home may seem like an elaborate task, but with the proper tools, a clear plan, and attention to detail, learning how to install a farmhouse drainboard sink is easy.
Review the Manufacturer’s Specifications
Start by carefully reviewing the manufacturer’s installation guidelines. Each sink is unique in its dimensions and installation requirements, so it’s essential to confirm these details before preparing your space. This step ensures you have all the necessary tools, materials, and information to proceed without unexpected issues.
Measure and Prepare Your Countertop
Accurately measuring the sink cutout is a crucial part of the process. Using the sink’s template or exact dimensions provided by the manufacturer, mark the countertop where you’ll install the sink. Applying masking tape along the cutting lines helps you see the marks clearly and minimizes chipping during the cut.
Cut the Sink Opening
Using a jigsaw with a fine-tooth blade, carefully cut along the marked lines on the countertop. Work slowly and steadily to avoid mistakes, and ensure you create a clean, smooth edge for the sink to rest against. If your countertop material is particularly thick or hard, such as quartz or granite, consider using a professional-grade saw or seeking assistance from a professional to avoid damaging the material.
Check the Fit
Once the cutout is complete, carefully place the farmhouse sink into the opening to ensure it fits correctly. The sink should sit flush against the countertop and align symmetrically with the surrounding cabinets. If the sink doesn’t fit perfectly, use tools to trim down the edges of the opening, such as a sander, jigsaw, or file. This step is critical for achieving a professional-looking result, so don’t rush through it.
Apply Sealant to the Edges
Run a generous bead of high-quality silicone sealant along the edge of the sink cutout on the countertop. This step creates a watertight barrier that prevents spills, splashes, or condensation from seeping under the sink and damaging the countertop material. In addition to waterproofing, the sealant serves as an adhesive, helping to secure the sink in place.
Position the Sink
Once you’ve applied the sealant, carefully lower the farmhouse sink into the countertop opening. Press the sink firmly into the sealant to create a strong bond, ensuring it sits evenly and aligns properly with the surrounding countertop and cabinetry.
Use a level to verify the sink is perfectly horizontal. If adjustments are necessary, make them quickly before the sealant begins to set, as this will affect the final fit and stability of the sink.
Secure Underneath
Use any brackets and hardware that come with the sink to secure it to the underside of the countertop. Attach the brackets evenly on all sides, ensuring they are tight enough to hold the sink securely without causing it to shift out of alignment. This step is important for ensuring the sink remains firmly in place under daily use. Double-check the alignment after tightening the brackets to ensure everything stays level and symmetrical.
Install the Drain and Accessories
Next, assemble and install the sink’s drain fittings according to the manufacturer’s instructions. These fittings may include attaching strainers, washers, and connecting pieces to ensure a secure and watertight seal. If you are installing additional accessories, such as a garbage disposal unit or drainboard components, follow the product instructions carefully. Take extra care with this step, as any misalignment can cause future plumbing issues or affect the functionality of the sink.
Connect the Plumbing
Hook up the sink to your water supply and waste lines to complete the plumbing connections. Use threaded pipe connectors and plumber’s tape to create a tight seal and prevent leaks. Double-check all connections to ensure they are secure and that you’ve properly aligned them. If you’re unfamiliar with plumbing work, get professional assistance to avoid potential issues.

Check for Leaks
Turn on the water supply and inspect all plumbing connections for any drips or leaks. Pay close attention to the areas around the drain, water lines, and waste pipes. If you notice water escaping, tighten the fittings further or reapply plumber’s tape as needed. This step is your last chance to address potential issues before putting the sink into regular use.
Seal the Perimeter
After confirming the sink is secure and all connections are leak-free, apply a bead of silicone caulk around the perimeter of the sink where it meets the countertop. This final seal creates a watertight barrier, ensuring no water can seep into the countertop over time. Use your finger, a caulk tool, or a damp cloth to smooth the caulk line for a clean, polished finish. Then, allow the caulk to cure fully before using the sink, as per the manufacturer’s instructions.
Clean up Residual Sealant
Once the sealant and caulk have dried, carefully remove any excess using a scraper, cloth, or utility knife. Be gentle to avoid scratching the countertop or sink surface. A clean, tidy finish will elevate the overall appearance of your kitchen and ensure your installation looks professional. Take this opportunity to wipe down the sink and surrounding surfaces to remove any dust, fingerprints, or smudges from the installation process.
Test the Sink’s Functionality
Finally, test your new farmhouse sink to make sure everything is working as intended. Run water through the sink, and check the drainage slope of the drainboard to ensure water flows properly. Test any installed accessories, such as strainers or garbage disposals, to confirm they are functioning correctly. Once satisfied, take a step back and admire your hard work—you’ve just completed a rewarding project and transformed your kitchen!
Figuring out how to install a farmhouse drainboard sink in your home can seem intimidating, but with these easy instructions, you’ll soon have a functional addition to your kitchen that combines durability with timeless charm. If you’re ready to add a vintage farmhouse sink with a drainboard to your home, let NBI Drainboard Sinks help you. View our full collection to find the perfect model for your kitchen today.