

Installing a farmhouse kitchen sink changes both the function and style of a kitchen. The process requires planning, precise measurements, and careful handling of materials. Homeowners often choose farmhouse sinks during remodels or when replacing older drainboard or apron-front models. Understanding each step helps prevent costly mistakes and installation delays.
Farmhouse sinks differ from standard drop-in sinks in size, depth, and mounting requirements. Cabinets, countertops, and plumbing all need proper alignment before installation begins. A successful installation depends on preparation more than speed.
Choosing the Right Sink Size Before Installation
Sink size determines cabinet compatibility, plumbing alignment, and countertop cuts. Measure the interior cabinet width, depth, and height before selecting a sink. Leave enough clearance for plumbing connections and mounting hardware.
Depth matters as much as width. Deeper sinks need additional vertical clearance to avoid conflicts with garbage disposals or drain traps. Confirm all dimensions before ordering the sink.
Material Considerations That Affect Installation
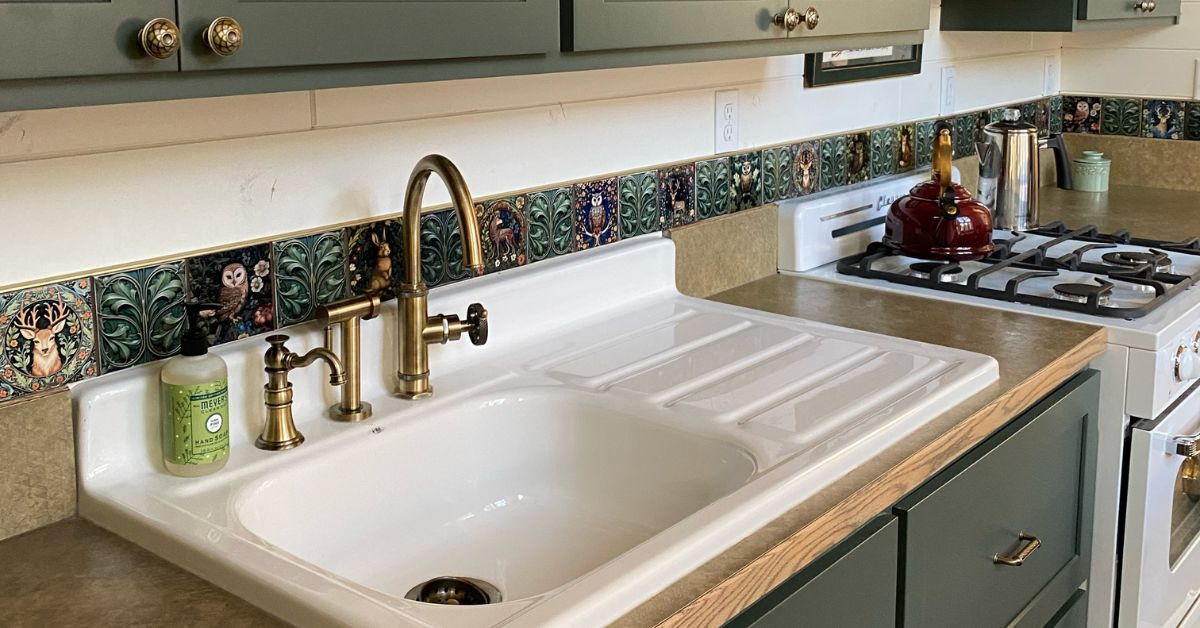
In addition to the size, you’ll want to consider the material for your new sink. Material choice influences weight, handling, and long-term durability. NBI Drainboard Sinks’ products use cast acrylic reinforced with fiberglass. This construction offers strength without the extreme weight of older materials.
These sinks maneuver more easily during dry-fitting and placement. They also resist cracking and staining when installed correctly. Proper support still remains essential for long-term performance.
Plan Your Countertop Cutout With Drainboards in Mind
You’ve chosen your sink. Now, you can start to install it. The first step in this process is determining how much of your counter you need to cut to accommodate your new purchase.
Many drainboard farmhouse sinks are designed so the drainboard sections don’t require countertop removal beneath them. In most installs, the cutout is focused on the basin opening (or openings), not the drainboards.
If you want a cleaner install and less countertop removal, lay out and cut only what’s needed for the basin area. If you prefer a larger opening for access or personal preference, you can still cut a broader opening—but it’s not always necessary for drainboard sections.

Mark the Sink Location Using the Full Outer Perimeter
Start by measuring the sink’s length and width, then transfer those dimensions onto the countertop in the exact position where you want the sink to sit. Use tape lines or a marking tool that’s visible and easy to clean up.
At this stage, you’re measuring for the countertop opening and final sink placement—not rechecking cabinet compatibility.
These first marks should represent the sink’s outer perimeter. Take your time aligning it to your cabinet centerline and faucet placement so the final sink sits evenly and looks intentional.
Keep Corners Clean and Consistent
Corner layout is where people get sloppy—and that’s where the cutout starts to look uneven. If the sink shape calls for rounded corners, mark consistent radiused corners before cutting. Then double-check your layout so you’re confident the sink will drop into a clean, symmetrical opening.
Create a Safe Cut Line Before You Cut
Once the outer perimeter is marked, create your cut line by measuring inward from that perimeter by a consistent amount. Then draw a second set of lines that run parallel to your outer marks all the way around the opening, so your cut line stays even and predictable.
This helps prevent over-cutting and gives you a clear “do not cross” boundary that protects the final fit and finish.
Cut the Opening Carefully and Recheck Your Layout First
Before you cut, verify every line and measurement one more time. Most cutout mistakes come from skipping this pause.
Cut slowly, especially near corners, and stay on the inner cut line. The goal is a controlled opening that can be adjusted slightly if needed—without ever having to “undo” an over-cut.
Dry-Fit the Sink and Fine-Tune the Opening
After the opening is cut, test-fit the sink before you commit to sealant. Set the sink into the opening temporarily and confirm it sits properly and evenly.
If adjustments are needed, make small corrections and re-fit. Avoid widening the opening beyond your outer perimeter reference marks—those lines protect your final reveal and help keep the sink looking tight and professional.
Clean the Countertop Surface So Sealant Can Bond
Once the fit is confirmed, remove the sink and clean the countertop surface thoroughly. Remove any tape residue and wipe away dust from cutting so the sealant adheres properly.
Skipping cleanup can lead to weak adhesion, messy seams, and moisture problems later.
Set the Sink and Seal the Flange With a Continuous Bead
Place the sink into the opening in its final position. Then apply a continuous bead of kitchen-and-bath adhesive sealant around the entire perimeter where the sink flange meets the countertop surface.
Choose a sealant color that matches the sink finish for a cleaner visual seam. After setting, remove excess sealant right away and follow the sealant manufacturer’s cure time before heavy use or cleanup.
Install Accessories, Then Finish Plumbing Connections
Once the sink is seated and sealed, install the faucet, sprayer, and soap dispenser. Tight spaces under farmhouse sinks require patience and the right tools, so follow manufacturer instructions for each component and tighten fittings carefully.
After the accessories are in place, complete the remaining plumbing connections according to local code and manufacturer recommendations. Make sure all connections align naturally without forcing angles that can stress fittings over time.
Common Installation Mistakes to Avoid
Many issues stem from rushed preparation or skipped measurements. Avoid these common mistakes:
• Measuring only exterior cabinet dimensions
• Ignoring plumbing clearance
• Installing countertops before confirming sink fit
• Cutting a larger opening than needed under drainboards when only the basin requires a cutout
• Rushing layout and corner marking, which can create uneven reveals and sealing gaps
Careful planning prevents these problems. Each step builds on the last.
Final Checks Before Regular Use
Before you start using your new sink, run a few final checks.
Inspect the seal line around the flange and confirm the bead is continuous with no visible gaps. Check inside the cabinet after the first test run for any signs of moisture. Turn the water on, run it for several minutes, and inspect all connections for leaks.
Address any issues immediately before closing the cabinet or putting stored items back underneath. A few minutes of inspection now can prevent long-term water damage later.
Why Proper Installation Protects Your Investment
A farmhouse sink represents a long-term kitchen upgrade. Proper installation protects cabinetry, countertops, and plumbing. It also ensures the sink performs as intended for daily use.
When homeowners plan carefully and follow each step, farmhouse kitchen sinks integrate seamlessly into both modern and traditional kitchens. The result combines visual appeal with practical performance.